Key Tools for Peak Prepress Performance

Jessica Harrell
By listening to the questions our customers ask as they try to resolve various prepress challenges, we know some important elements are often overlooked. Yet, all can be easily handled with the right knowledge and technology. Jessica Harrell, manager of the Anderson & Vreeland Technical Team knows first-hand the pre-press challenges faced by printers and converters and offers some sage advice on how to take action before the plates land on a press.
Troubleshooting & Best Practices
“When print-related issues arise, the long process of troubleshooting begins,” explains Harrell. You can anticipate —and shorten— this phase by implementing some plate-room QC checkpoints and best practices. These can reduce downtime while helping plate-room staff better understand their process. Just a few tools can help you analyze data and capture the necessary information to ensure your platemaking process provides the results you expect.
Measure the Imaged Result
The first step in the platemaking process is imaging the RIPed design file onto the plate using a laser. When installing a laser, the implementation team sets up the plate material and determines the power settings necessary to properly image the plate. The plate operator must also check the laser engraving to ensure that the laser is removing the proper amount of black LAMs (Laser Ablation Mask) layer.
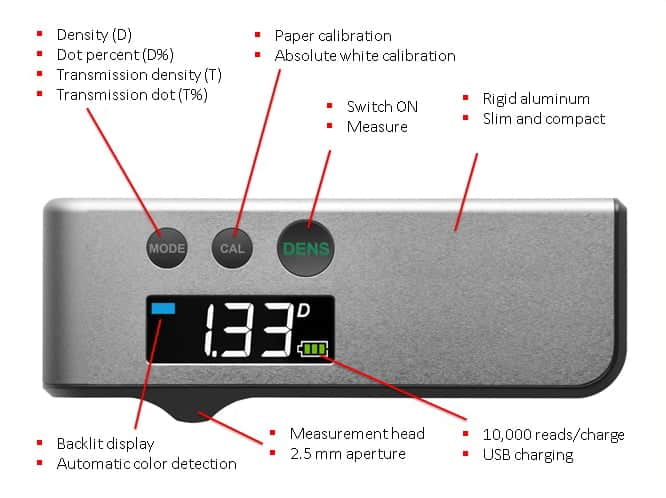
Techkon Dens
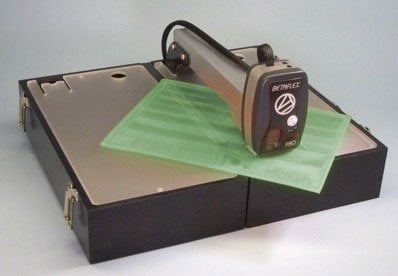
“This can be done with a transmission densitometer–the same device used to check film density,” says Harrell. “One version is the Techkon Dens. This device combines three functions; a transmission densitometer, a microscope, and a densitometer for measuring CMYK density and dot area.” Harrell and her team like this device because it can measure an imaged plate without damaging the plate surface. It simply rests on the surface when used in conjunction with a light table.
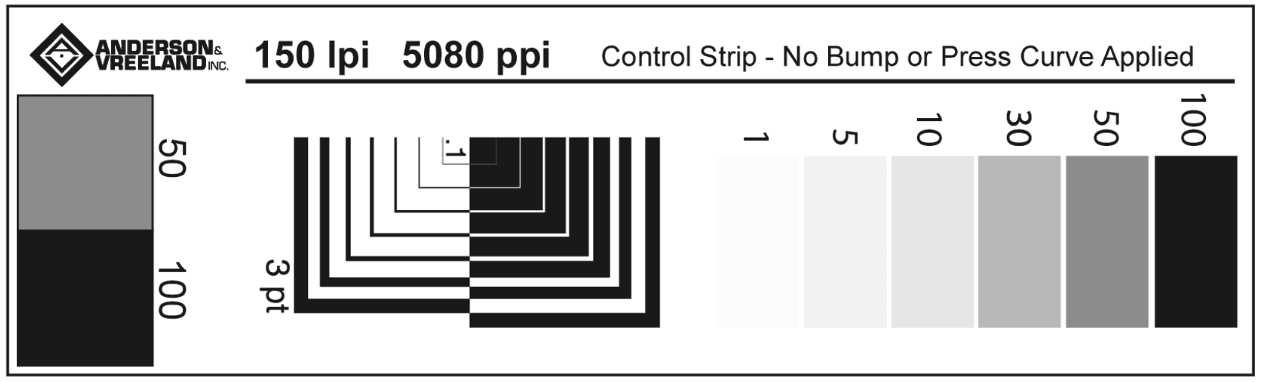
Harrell recommends that one or two control strips (shown here) should be imaged on each plate. “This gives the operator a consistent way of measuring and documenting plate department deliverables,” she says.
Documenting Plate Relief
Knowing plate relief is a key factor when preparing flexo plates for press. “Maintaining a consistent plate floor has a direct impact on print quality,” says Harrell. “Measuring each plate in multiple locations tells the operator that the platemaking equipment is exposing and processing the material properly.”
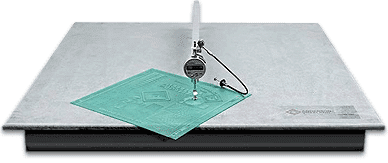 A digital plate micrometer can measure the floor and overall thickness of all plates. “We know that space is often an issue, but the larger the table surface, the easier it is to measure the full plate,” says Harrell. A&V’s digital plate micrometers are available in sizes ranging from an 18″ x 18″ table, up to 48″ x 80″ bench and/or self-supporting table. All feature heavy-duty, scratch-resistant bases to provide a stable foundation for accurate measurement. Throat depths range from 10″ on the 18″ x 18″ model up to 24″ on larger models. Ono Sokki digital micrometers and Mititoyo printers are available on all models, along with a foot pedal for activating the printer and a thumb release for lifting the micrometer head. Get a closer look here.
 If your goal is to truly automate the measurement and reporting process, consider the BetaflexPRO with the Flexi-Gauge micrometer option and FlexoEye Plus software. This device can measure dot sizes on the plate and capture relief depth with the optional digital micrometer. Adding the FlexEyePlus software component lets you save all the data for further analysis.
Got Lamps?
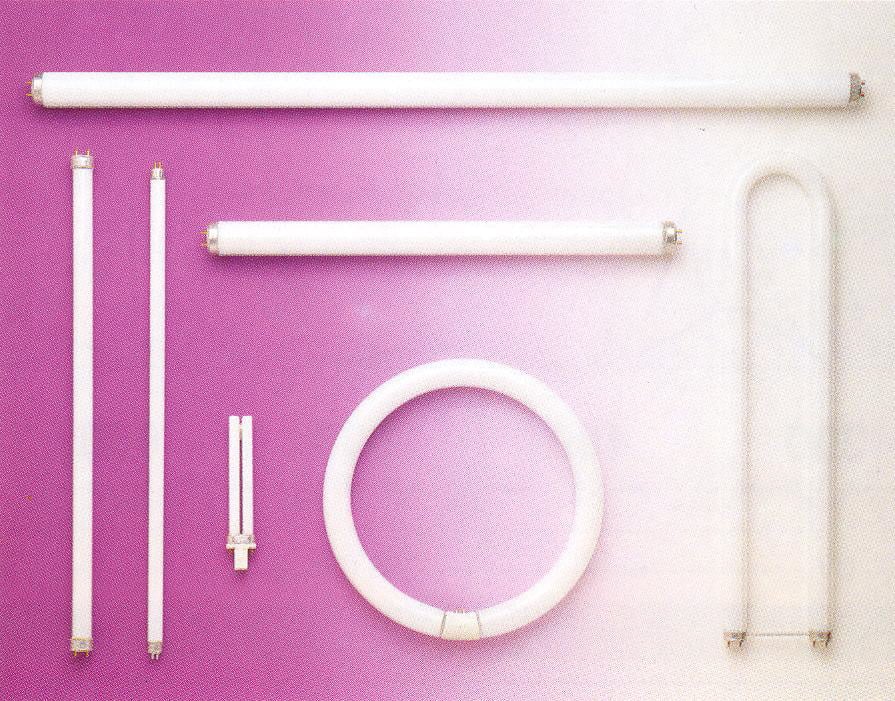 “Lamp intensity, measured in exposure units called milliwatts (mW), is a critical part of producing consistent photopolymer printing plates, but the intensity is not necessarily a cumulative effect.” Low-intensity lamps, for example, will affect the quality of the plate being made because it may keep highlights and fine elements from forming correctly. But don’t think that adding a longer exposure will necessarily fix the problem. For most materials, adding time at low-intensity exposure does not equal proper exposure times at high-intensity. Always use the correct exposure for the material being used.
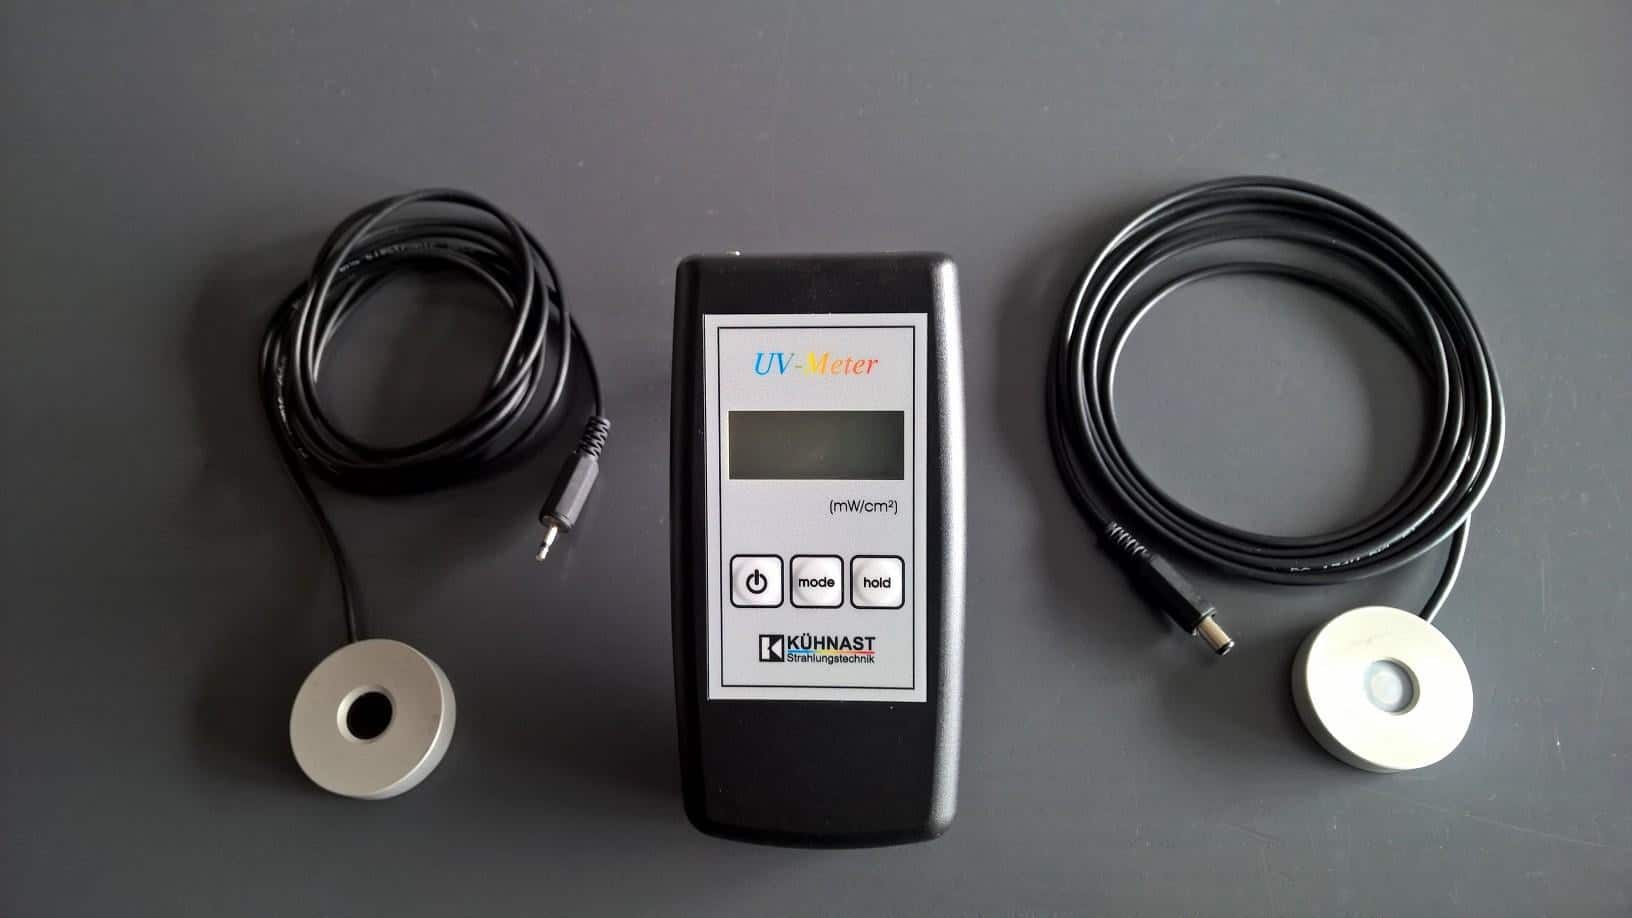
Lamp life is another best practice factor you can’t ignore. Lamp life is dependent on the type of exposure unit, type of lamp, operational temperature, the number of cycles completed, and how much total time the lamp has been running. To gather accurate intensity levels, measure lamp intensity at nine points across the exposure bed when the lamps are new. Then, perform the same 9-point UV-A check each week and document the measured values. New bulbs are recommended when the output drops an average of 3mW across all the lamps. Anderson & Vreeland recommends the Kuhnast UV-A meter.
Kuhnast-UV-Meter
And one other thing: never look directly at UV-A lamps! Your eyes haven’t evolved to look at that type of light and they can seriously damage your vision. For still more detail on lamps, please download lamp output PDF for different exposure units from our Technologies Team Technical Tips.
Now is a Great Time to Implement Quality Control!
Any time is a good time to add plate room checkpoints, so why not start now? Adding just a few plate room checkpoints can ensure only good plates are approved and make the journey to the press department. For more information on Anderson & Vreeland’s Plate Room Checkpoint Bundle, please email techteam@andvre.com and reference this blog post.
These are short answers to just a few of the questions customers ask. Prepress may seem straightforward, but there is a myriad of details under the hood that make the difference between mediocre and first-rate plates and finished work. Paying attention to those details and adopting some best practices are the keys to making sure every job in your plant shows off your best work and delights your customers.